Courses
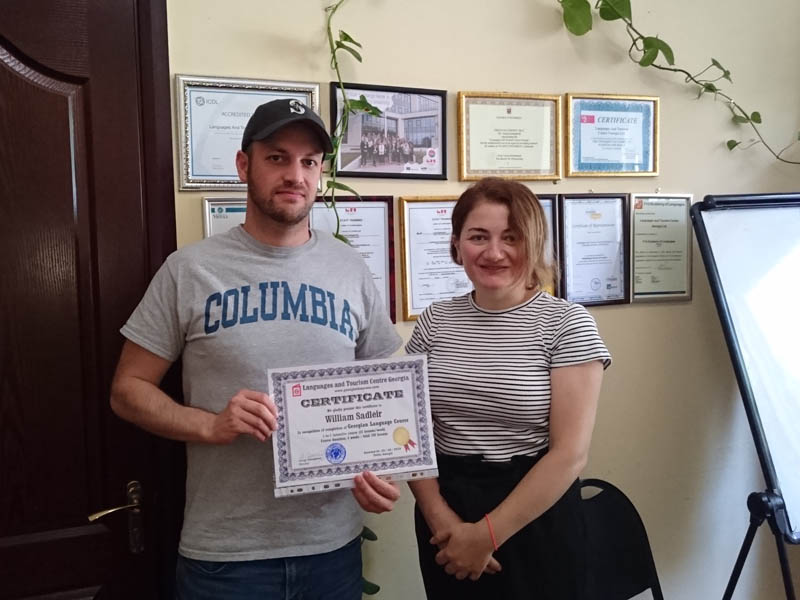
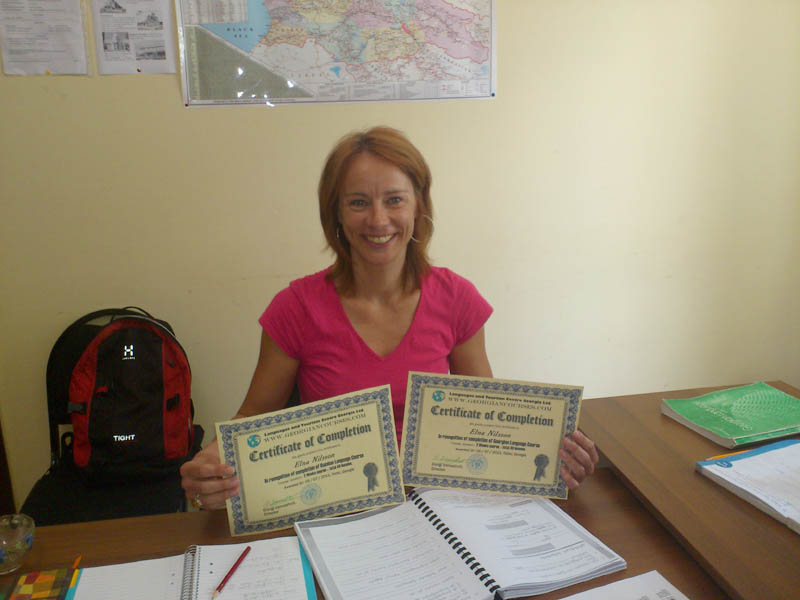
Georgian courses
Georgian Week
Georgian cooking class
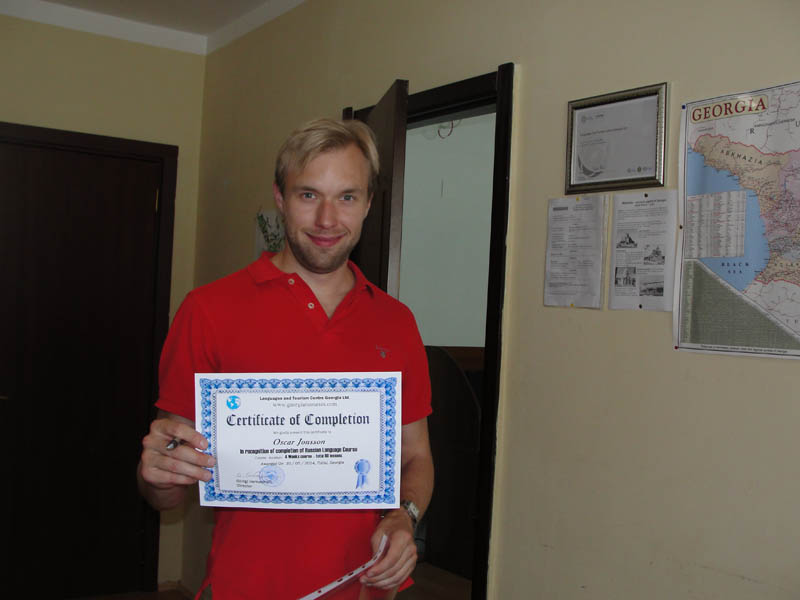
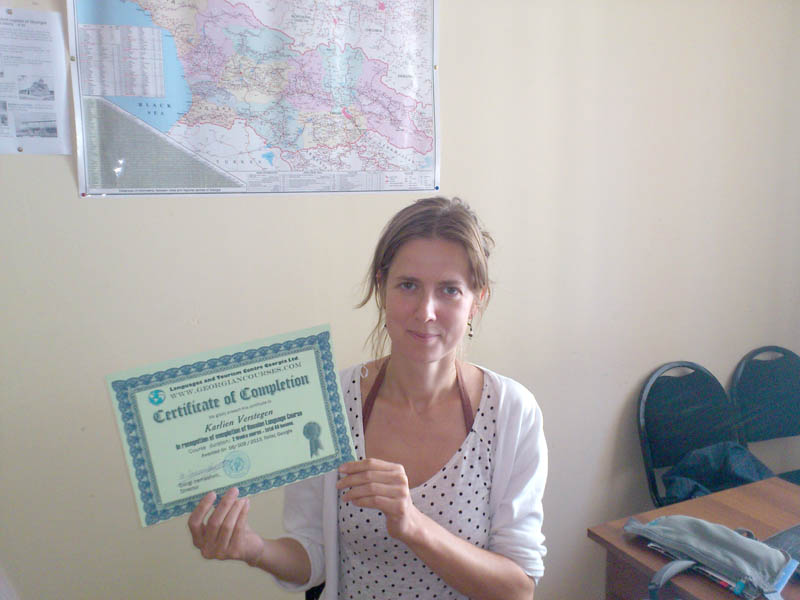
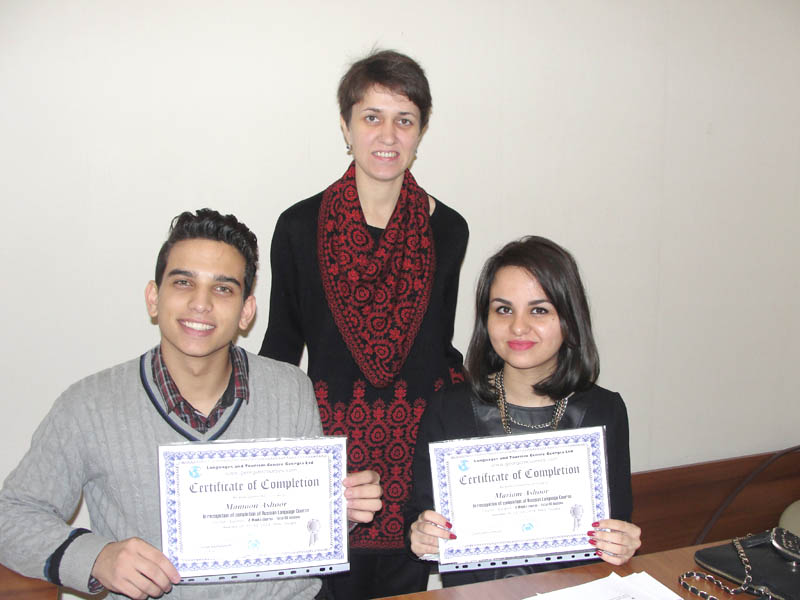
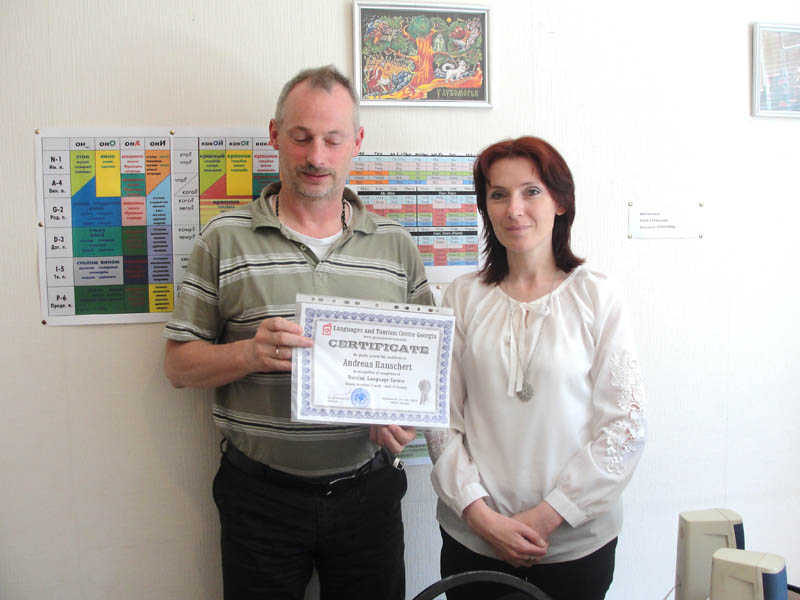
Russian courses
English courses
Georgia
Where we are
Georgia of legend
The first georgians
Architecture & Churches
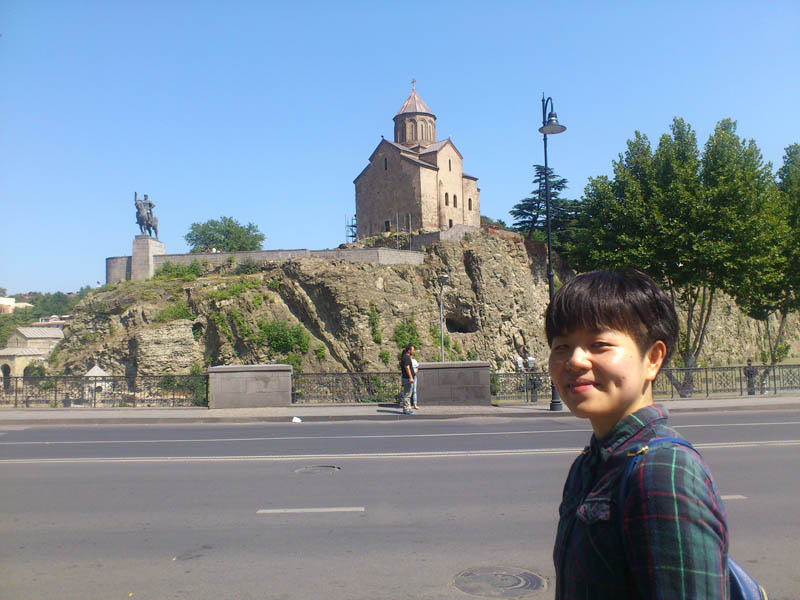
Tbilisi
Georgian Cuisine
Georgian Wines
Dances and Songs
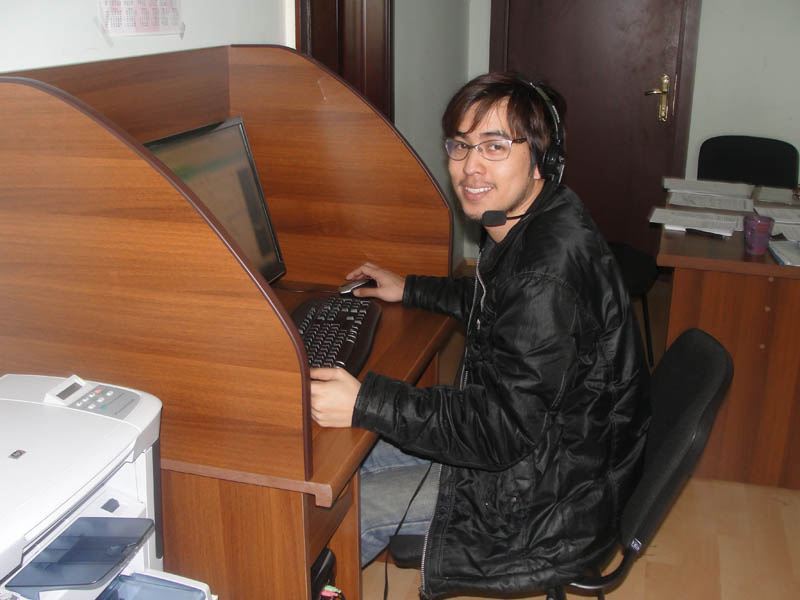
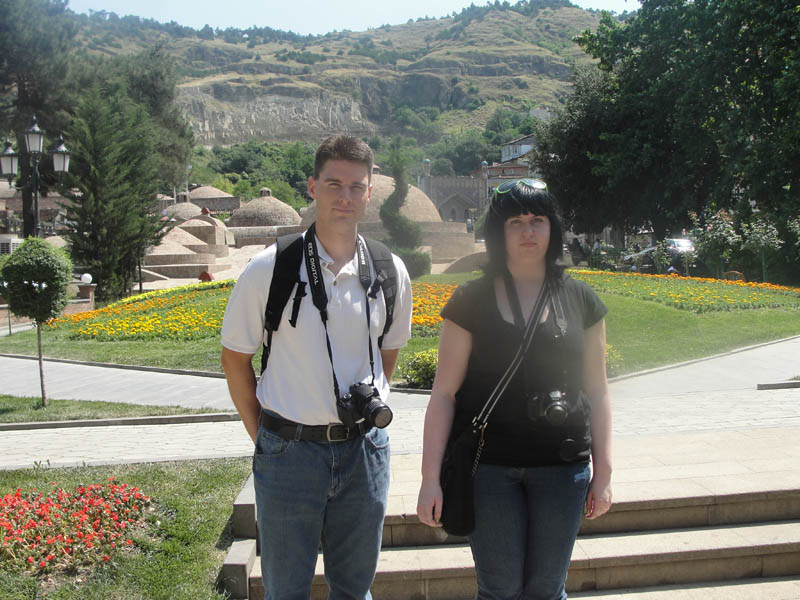
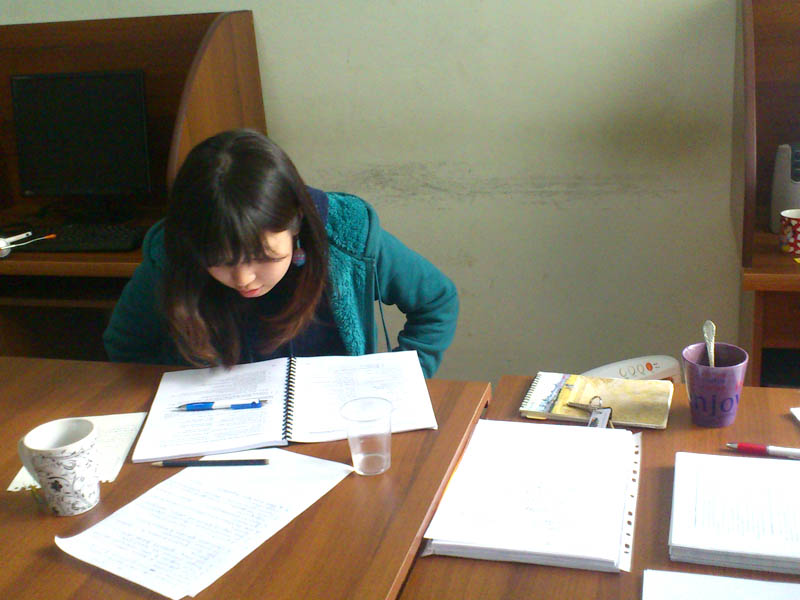
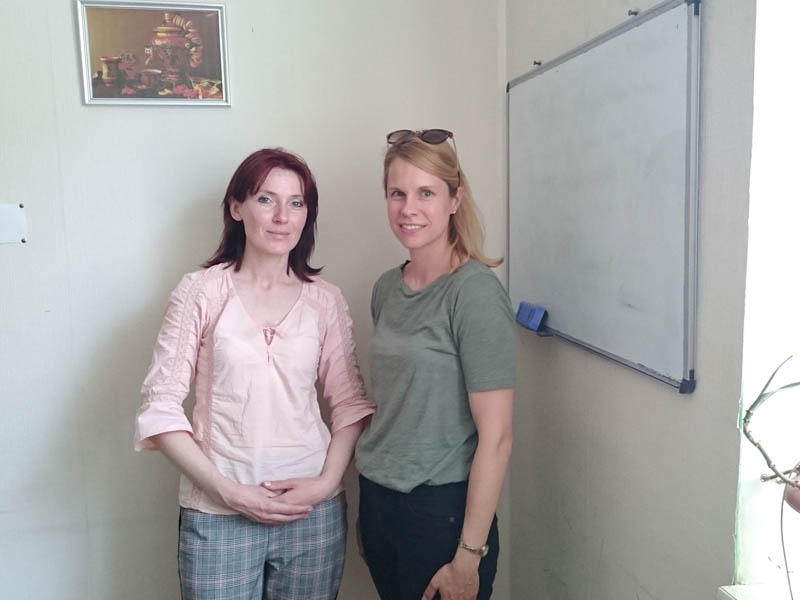
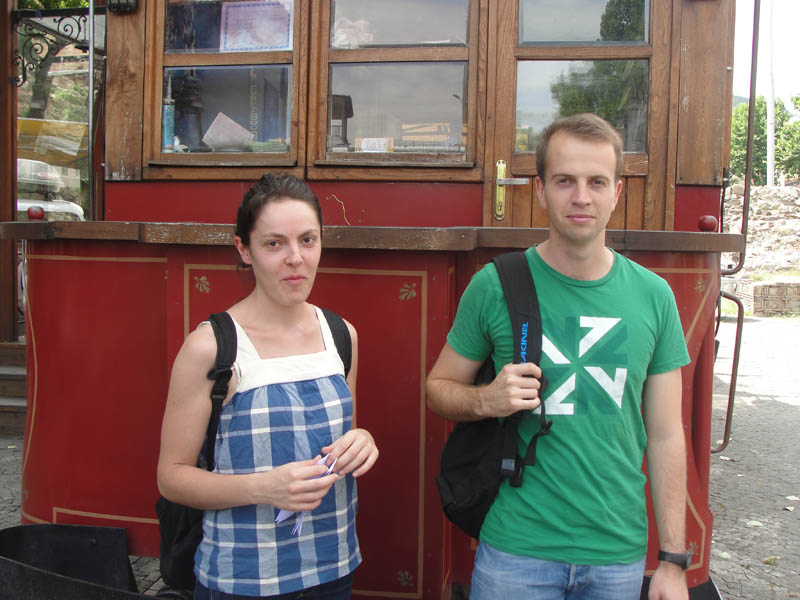
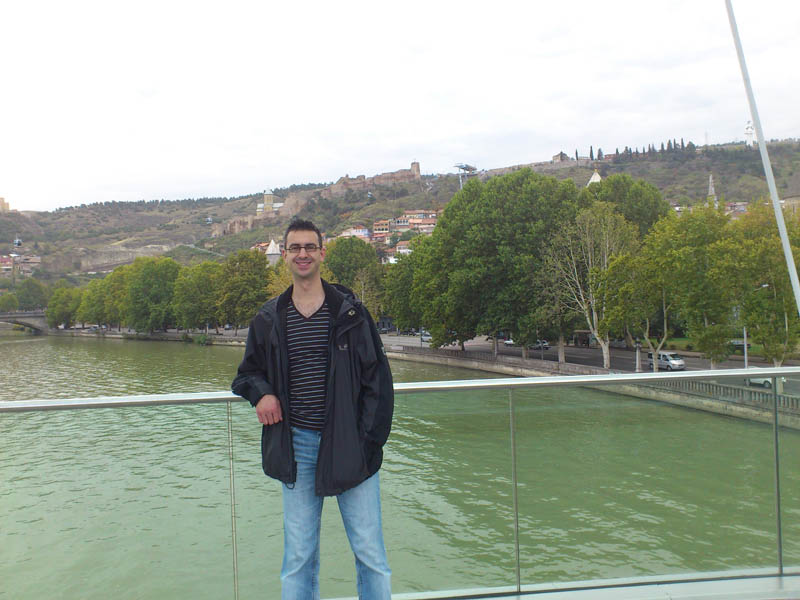
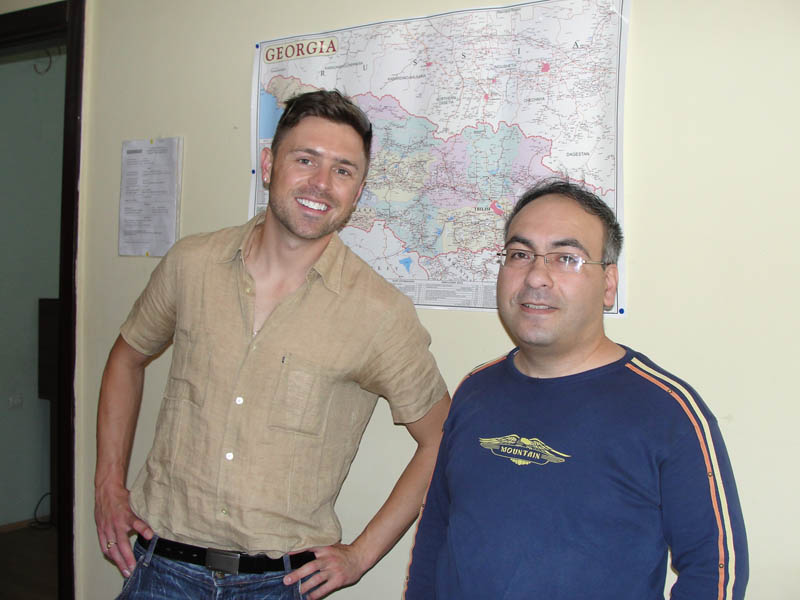
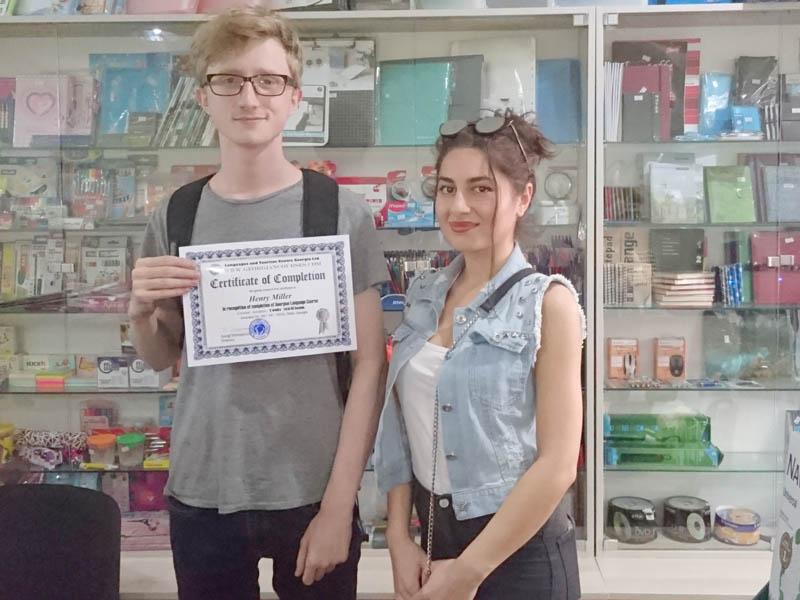
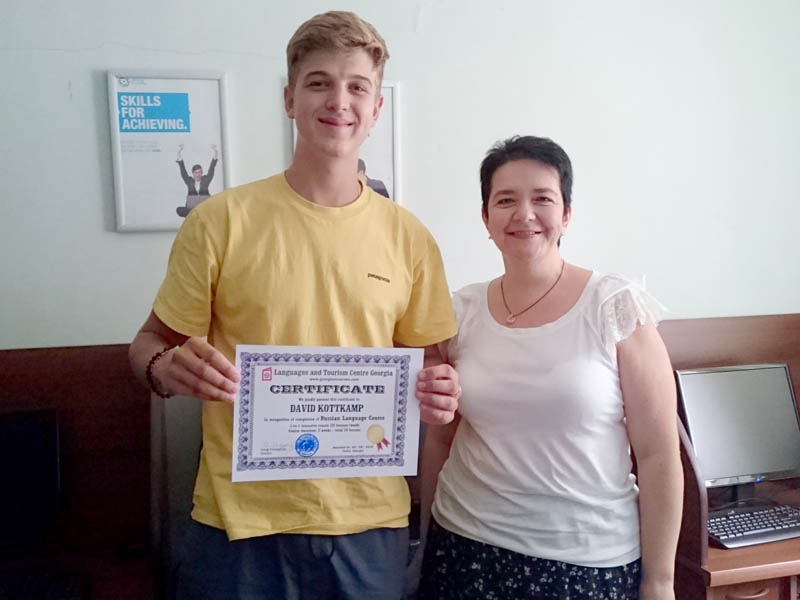
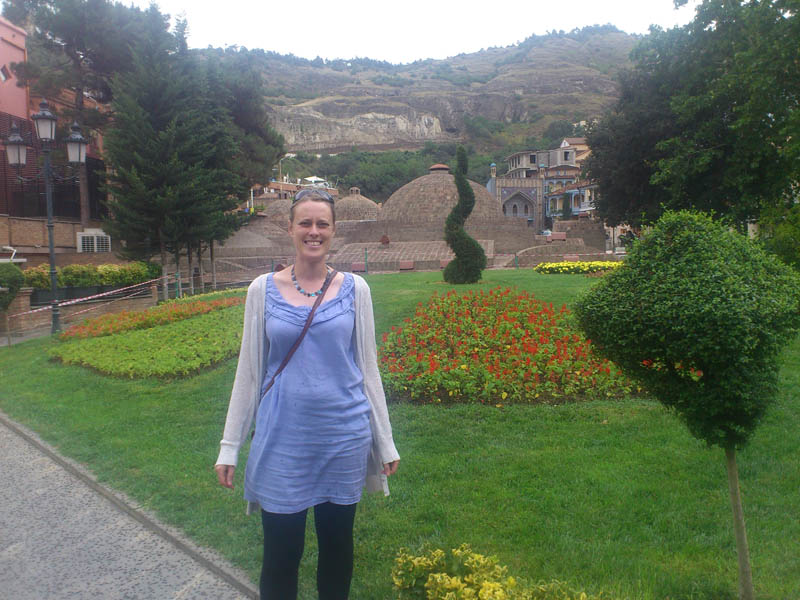
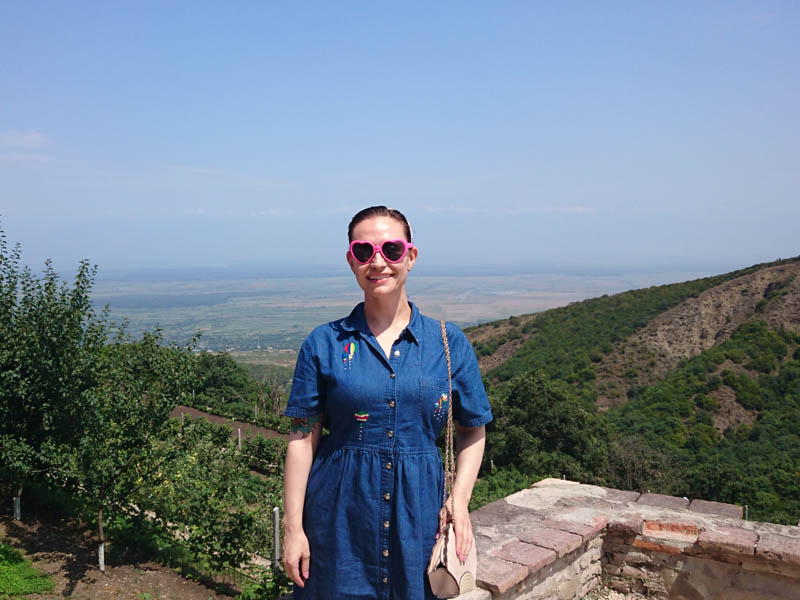
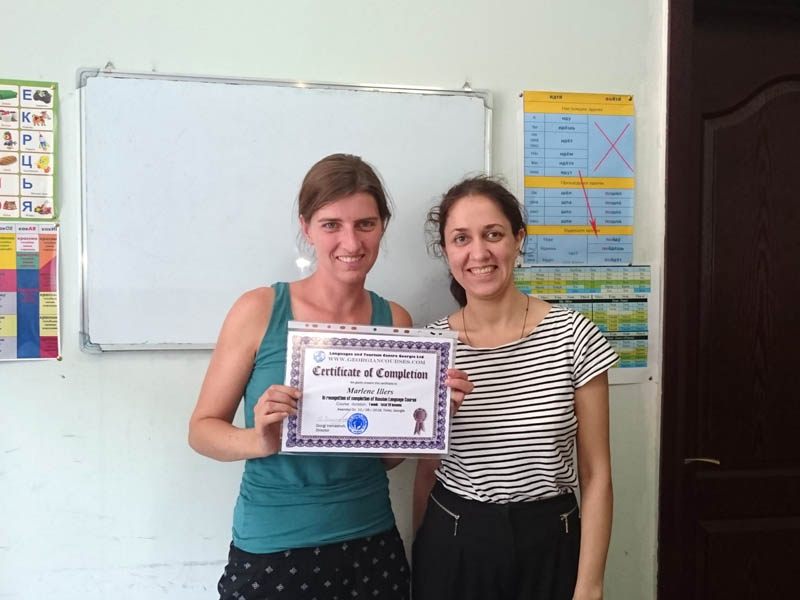
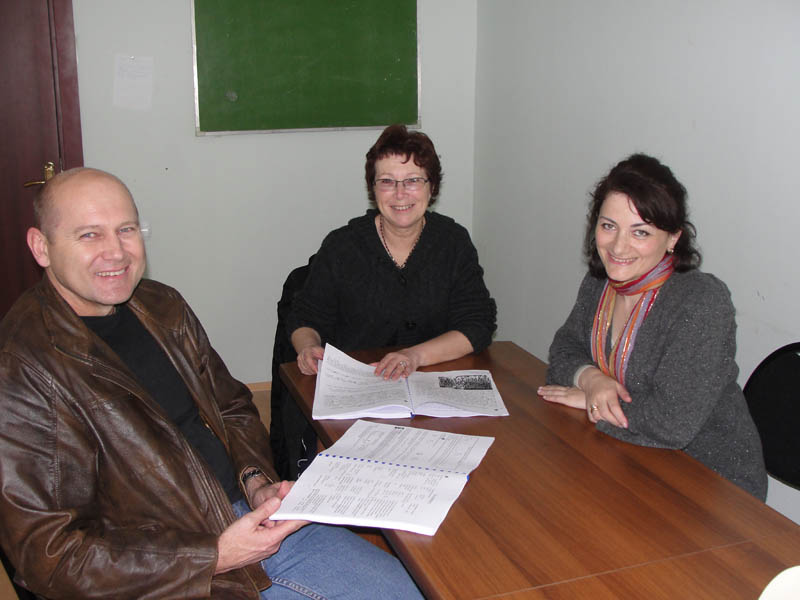
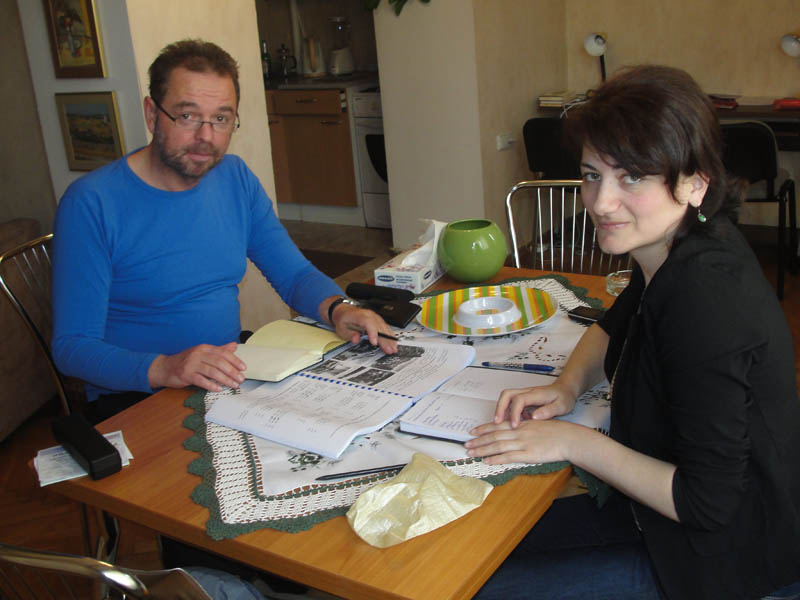
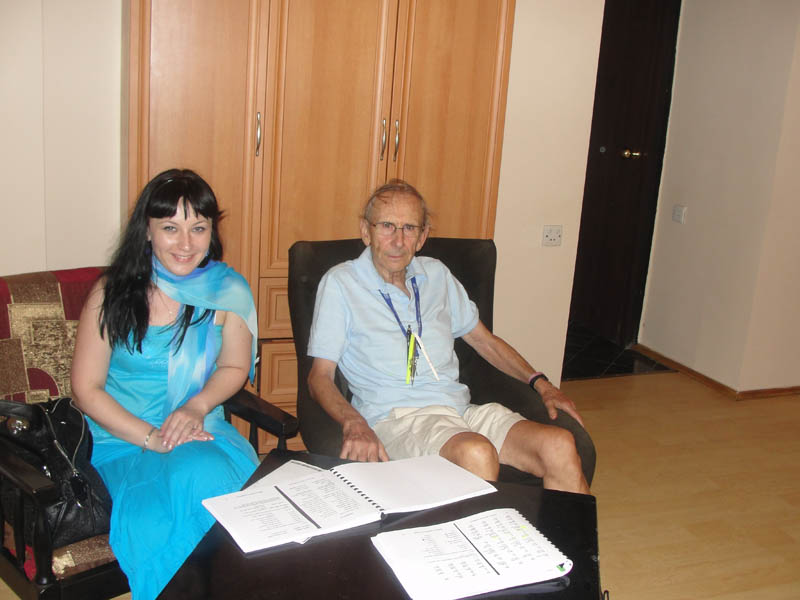
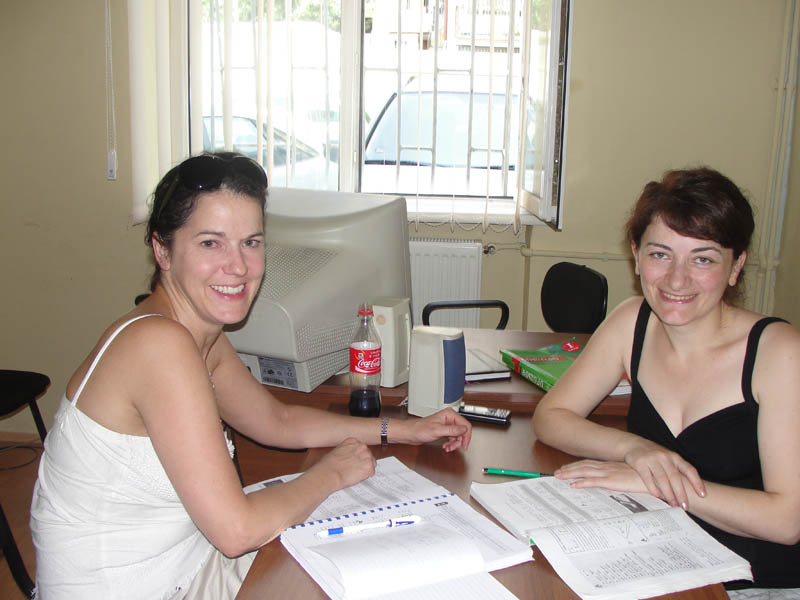
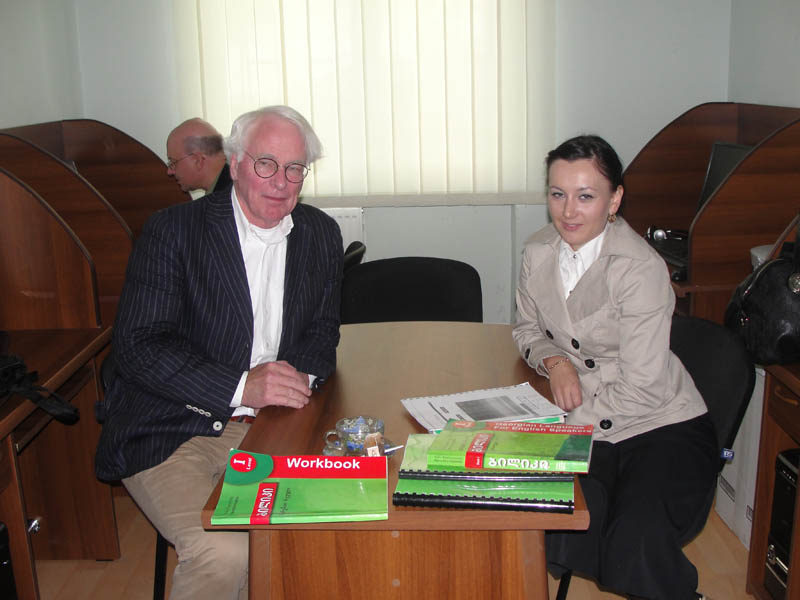
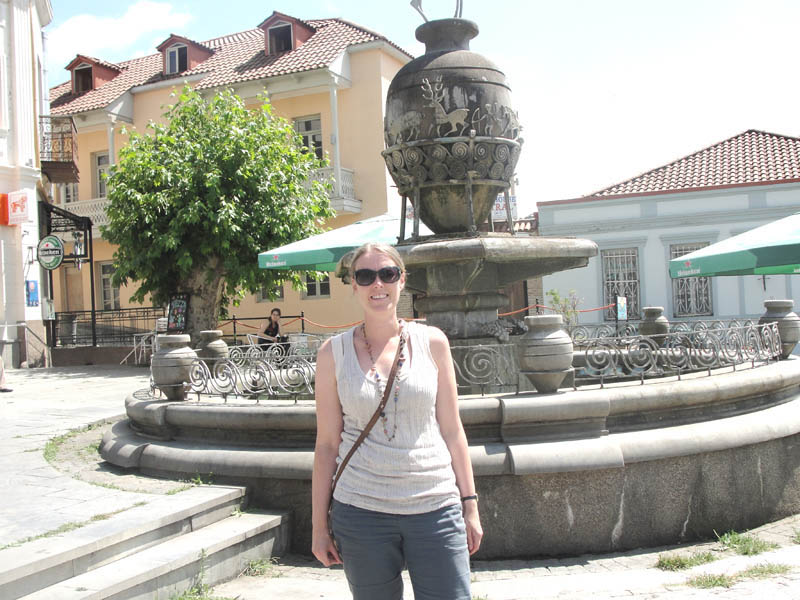
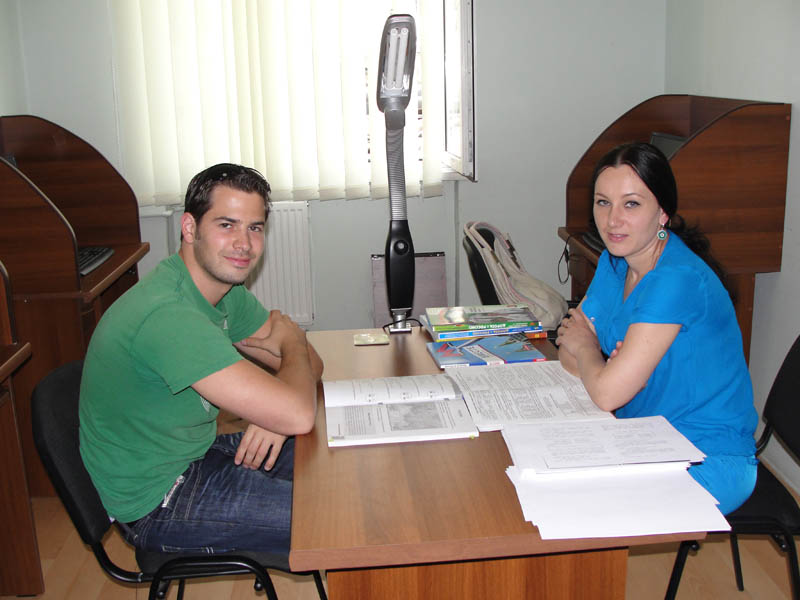
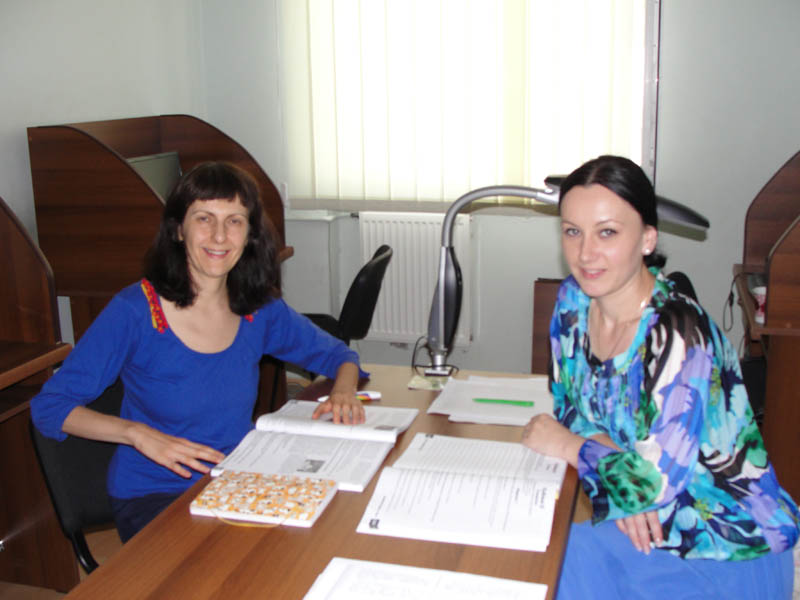
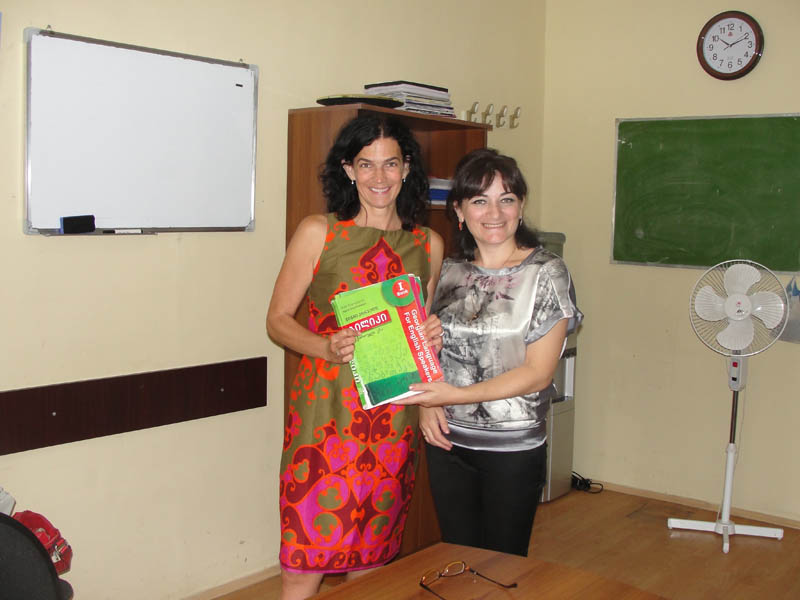
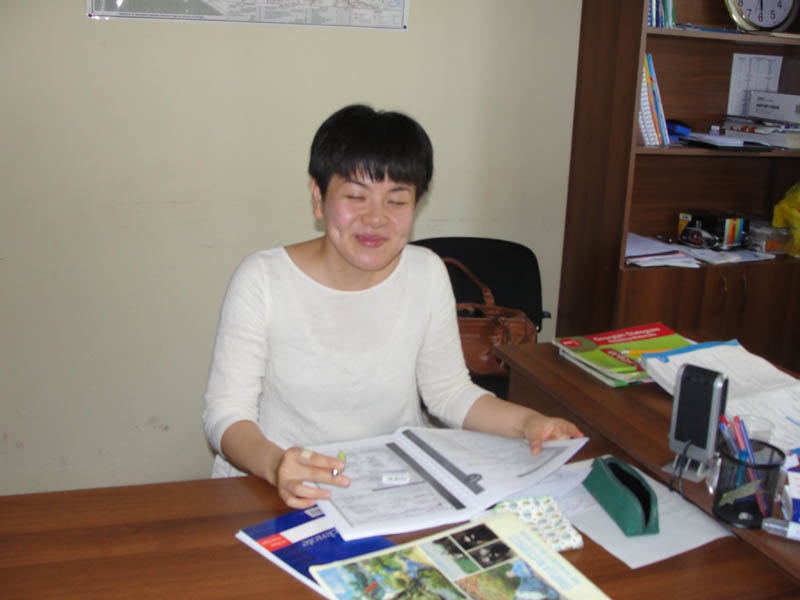
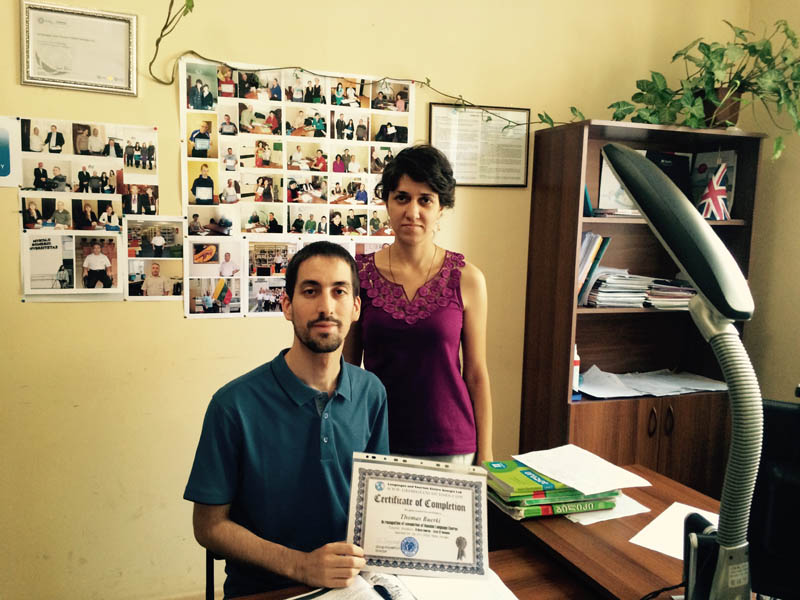
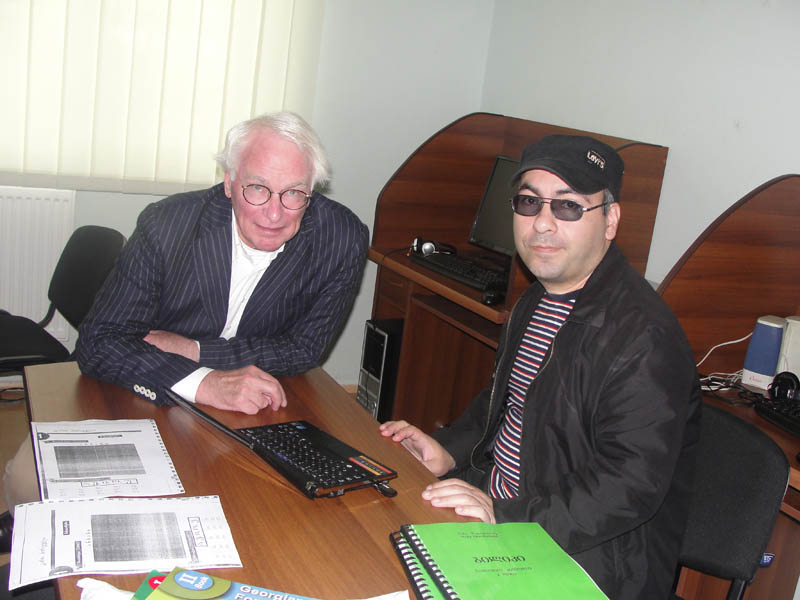
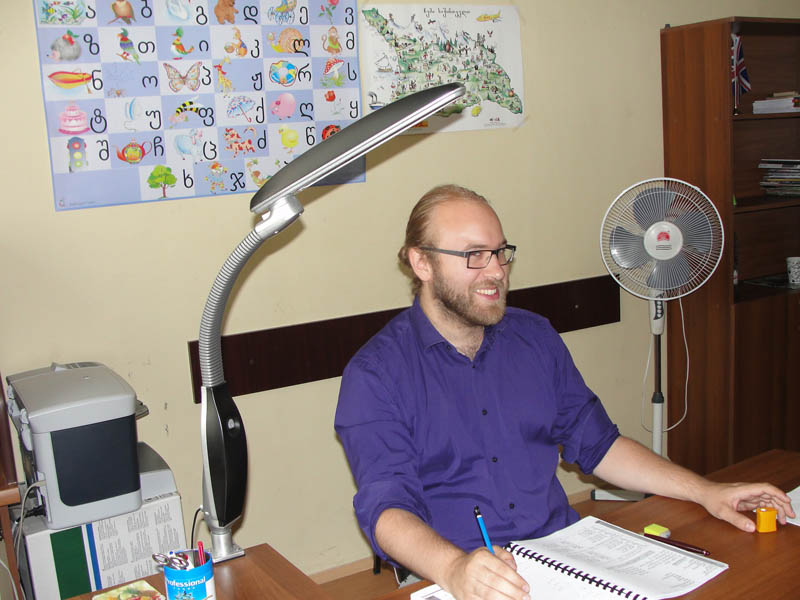
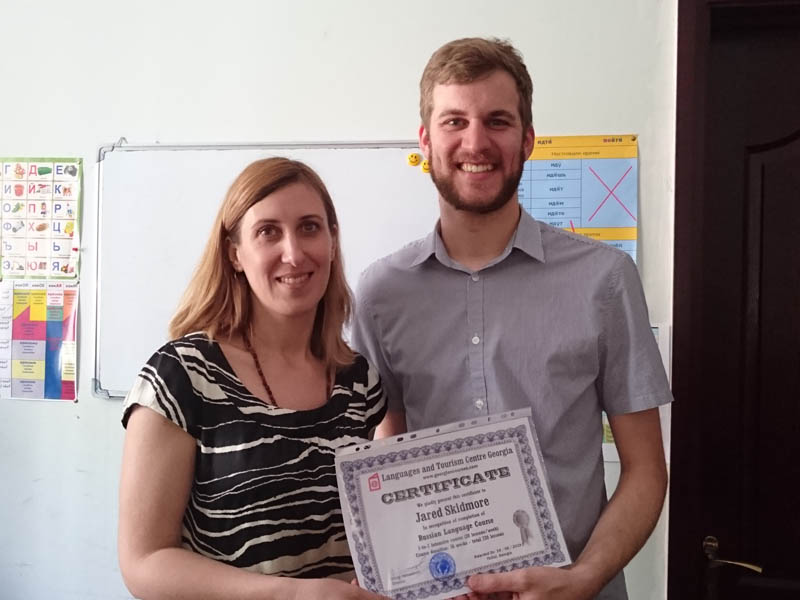
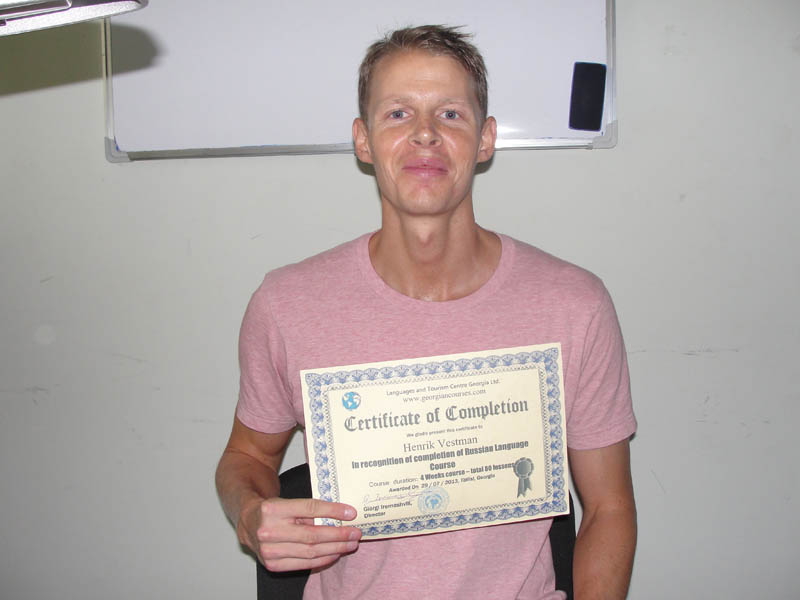
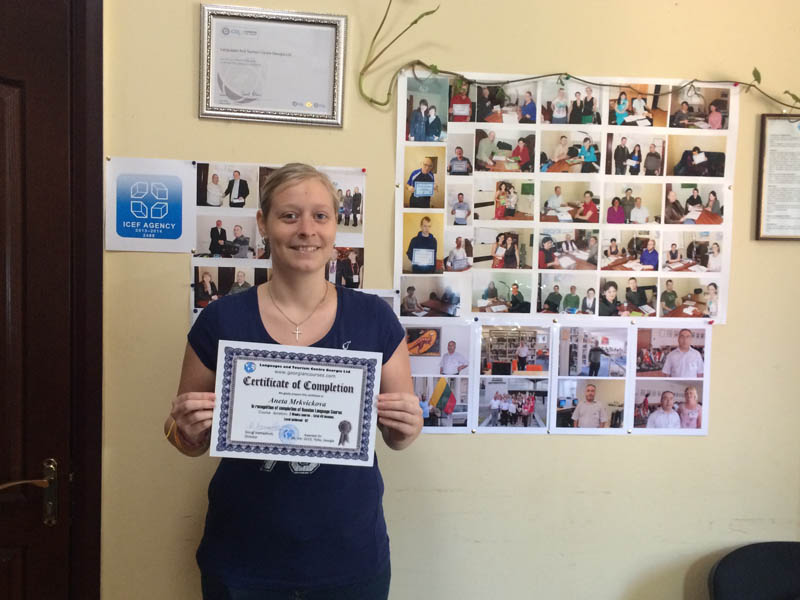
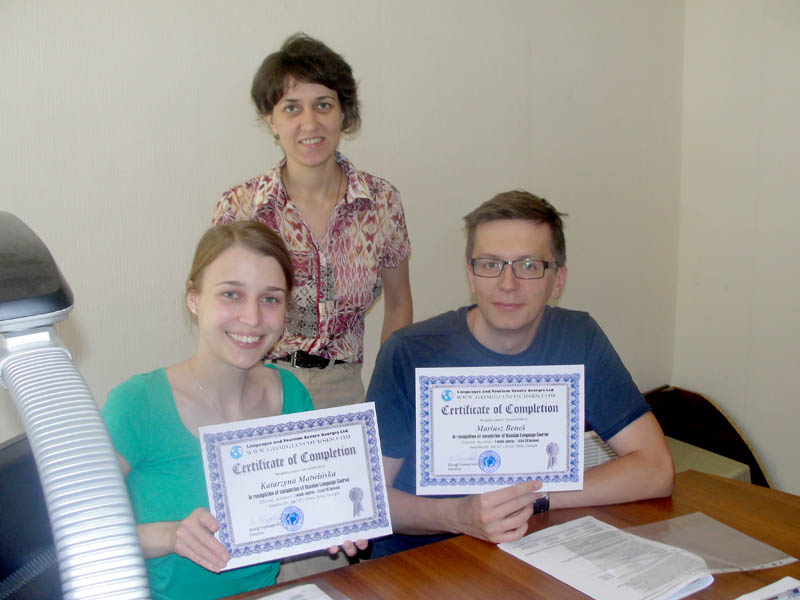
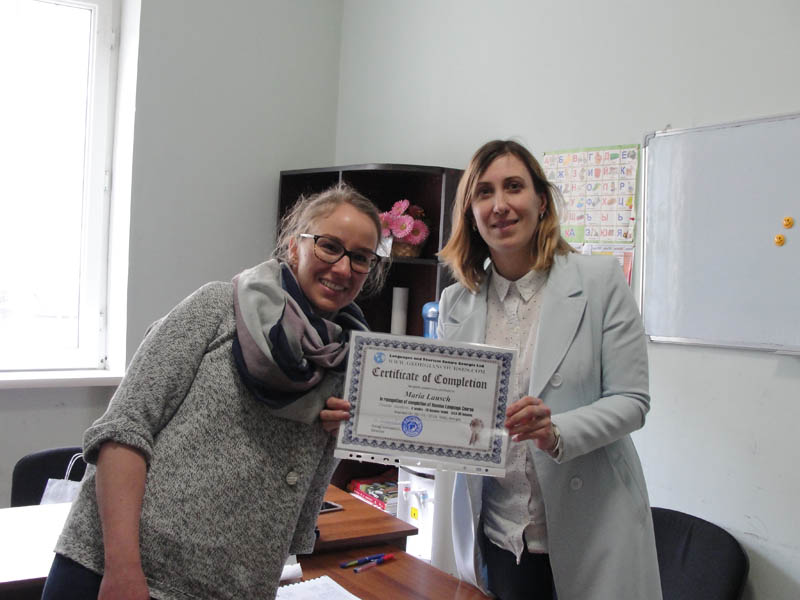
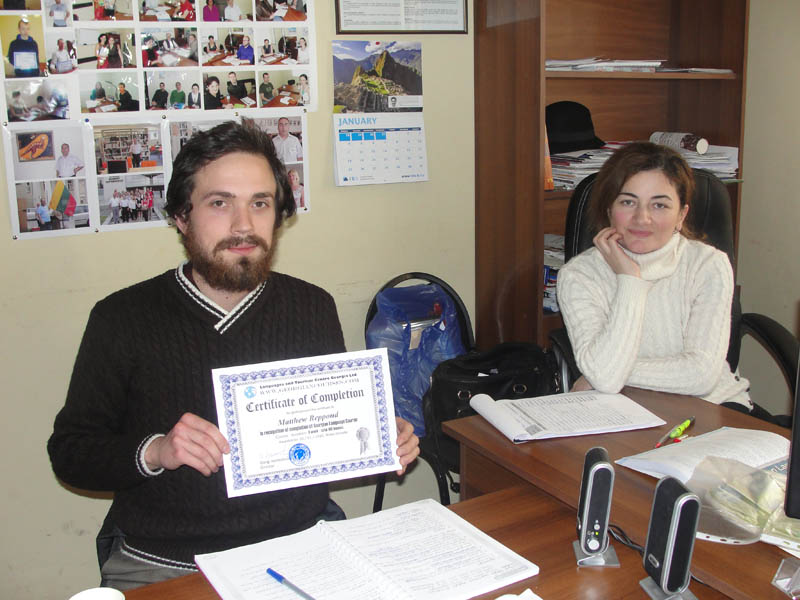
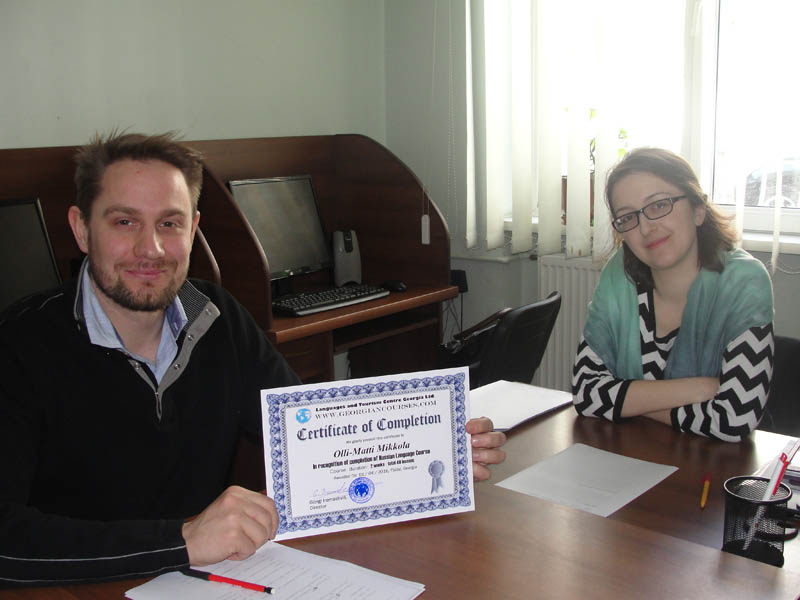
Gallery
Tours
Tbilisi Tour
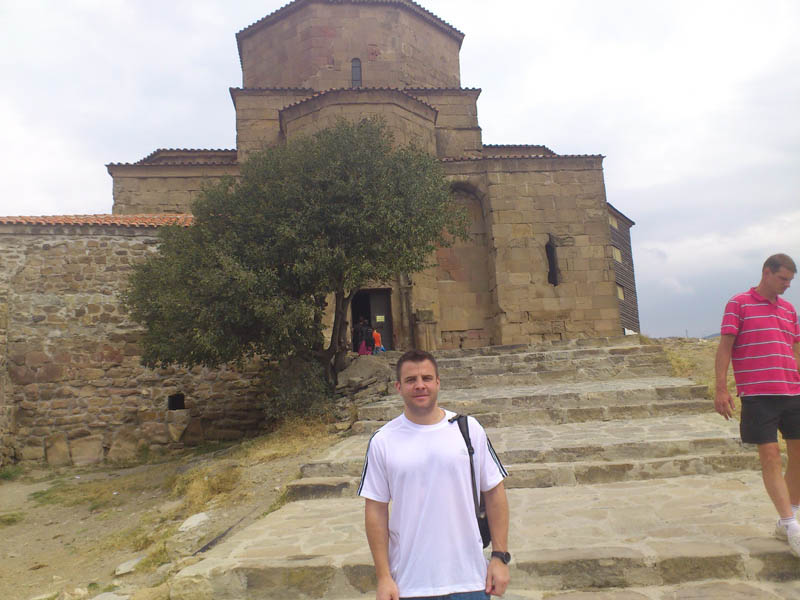
Mtskheta Tour
Stalin Museum - Gori
Wine tasting - Tbilisi
Wine tasting - Kakheti
Corporate tours & events
About us
About us
Our team
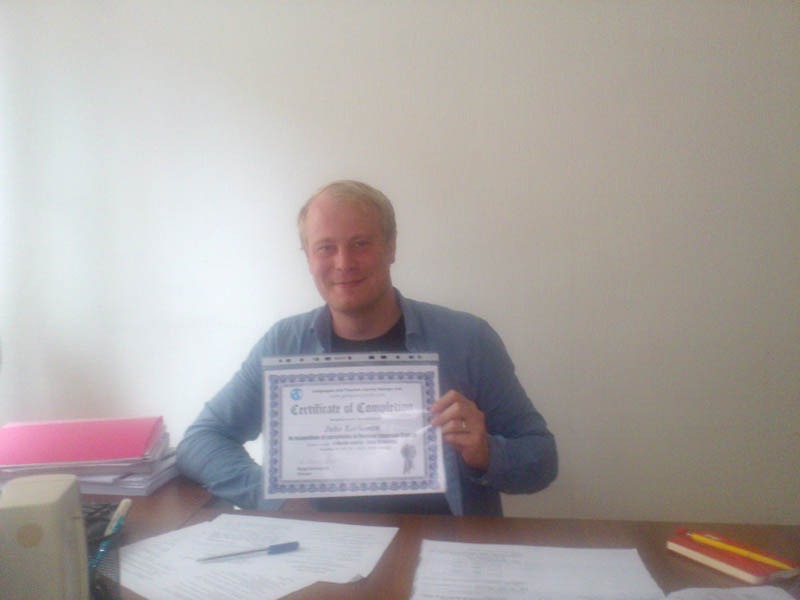
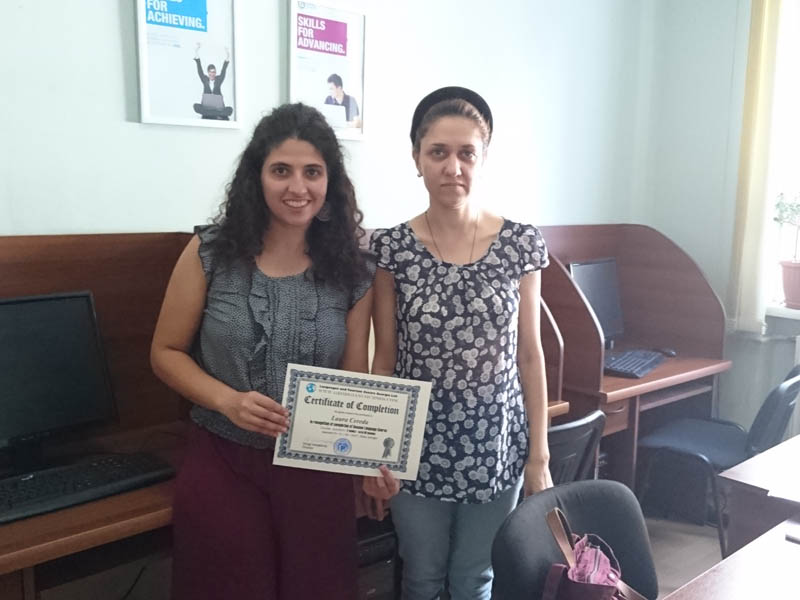
Accreditations
Accommodation
Visa & Arrival
Testimonials
Contact us
BOOK NOW!
Photo Gallery - page 2
Previous
1
2
WHY CHOOSE US?
No Visa need for USA or EU citizens
High quality tuition at reasonable prices
12 years of excellent teaching experience
All textbooks are provided FREE for every student